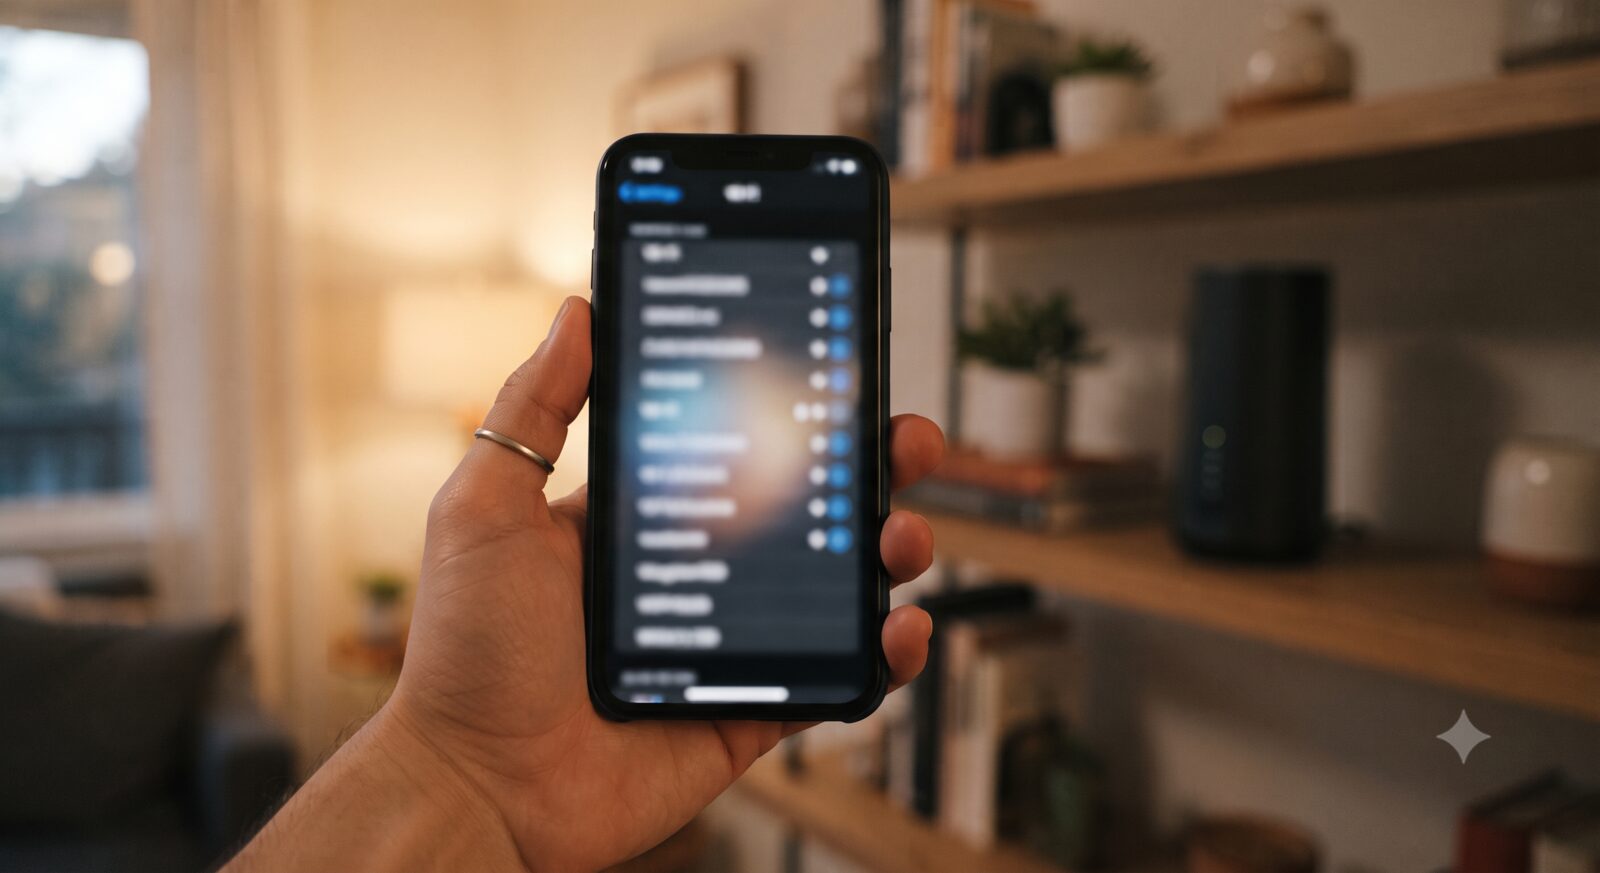
A guest Wi-Fi network is one of the most overlooked features already sitting in most people’s router settings — it costs nothing, takes a few minutes to set up, and does real security work beyond just being polite to visitors.
What a Guest Network Actually Does
A guest network gives a device internet access without giving it access to the rest of your home network — your computers, your network-attached storage, your smart home devices, anything else connected to your main network. It’s a separate, isolated Wi-Fi network broadcast from the same router, with its own name and password, that keeps whatever connects to it contained to internet access alone.
Not Just for Actual Guests
The name undersells what this feature is actually good for. See our IoT device privacy guide for the fuller case, but the short version: putting smart home devices — cameras, plugs, speakers, anything with weaker built-in security than your laptop — on the guest network isolates them from your main devices the same way it isolates an actual visitor’s phone. If one of those devices is ever compromised, it doesn’t have a direct path to your computers because it was never on the same network as them in the first place.
How to Actually Set It Up
- Log into your router’s admin settings — usually through a web browser at a specific local address, or through the router manufacturer’s app if it has one.
- Find the guest network option, usually under a wireless or network settings section, and enable it.
- Set a real, unique password — not the same one as your main network, and not left blank. A guest network with no password defeats a good part of the purpose.
- Check for a “network isolation” or “client isolation” setting and make sure it’s enabled if your router offers it separately — this specifically prevents devices on the guest network from seeing or communicating with each other, not just being isolated from your main network.
One Real Limitation Worth Knowing
Some smart home devices specifically need to be on the same network as your phone to complete initial setup or to work with certain automation features, which can make pure guest-network isolation impractical for every device in a smart home setup. Where that’s the case, the harm-reduction version still applies: at minimum, keep devices with a camera or microphone on the most isolated network configuration your specific setup allows, since those carry the highest privacy stakes if something does go wrong.
Change the Guest Password Periodically
Unlike your main network password, a guest network password tends to get shared more freely — with actual visitors, sometimes written on a card by the router for convenience. Rotating it every few months is a reasonable habit, and a much lower-stakes one than rotating your main network password, since a guest network is intentionally limited in what it can reach anyway.
Is a guest Wi-Fi network only useful for actual visitors?
No — it’s equally useful for isolating smart home devices from your main computers and phones, which is arguably the more valuable long-term use once the network is set up.
Does every router support a guest network?
Most modern consumer routers do, usually as a toggle in the wireless settings section of the admin panel or companion app. Older or very basic routers may not, in which case a router upgrade would be needed to get this feature.
What is client isolation and why does it matter separately from a guest network?
Client isolation prevents devices on the same network from seeing or communicating with each other, not just isolating that network from your main one. Without it, two devices both on the guest network could still potentially interact with each other.